
Sitecore part
Assuming that you have running Sitecore instance with installed Headless Services module, so let’s skip this part and start setup.
Configure website and the app
First of all, you have to let Sitecore know that you have website. I named mine “GettingStarted”, set root path and hostname and pointed it to master database to avoid publishing process during local development. The rest of properties inherits from default website.
Another key definition for headless version of Sitecore is app. You have to define it if you want to edit your site with help of Experience Editor. You may skip this if you don’t use EE.
<?xml version="1.0"?>
<configuration xmlns:patch="http://www.sitecore.net/xmlconfig/" xmlns:set="http://www.sitecore.net/xmlconfig/set/">
	<sitecore>
		<sites>
			<site name="GettingStarted"
				  inherits="website"
				  hostName="http://renderinghost"
				  rootPath="/sitecore/content/GettingStartedSite"
				  startItem="/home"
				  database="master"
				  patch:before="site[@name='website']" />
		</sites>

		<javaScriptServices>
			<apps>
				<app name="GettingStarted"
					 sitecorePath="/sitecore/content/GettingStartedSite"
					 inherits="defaults"
					 serverSideRenderingEngine="http"
					 serverSideRenderingEngineEndpointUrl="http://renderinghost/jss-render"
					 serverSideRenderingEngineApplicationUrl="http://renderinghost/"
					 patch:after="app[@name='defaults']"
				/>
			</apps>
		</javaScriptServices>
	</sitecore>
</configuration>
Setup Sitecore items structure
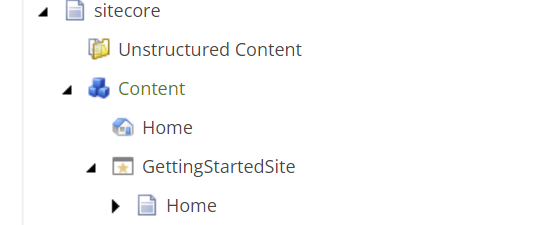
Site root item have to be created based on /sitecore/templates/Foundation/JavaScript Services/App template or it’s descendants. Also, create a page item template and add “Title” field to use in browser title. First page will be named “Home” and placed right under site’s root.
Setup layout items
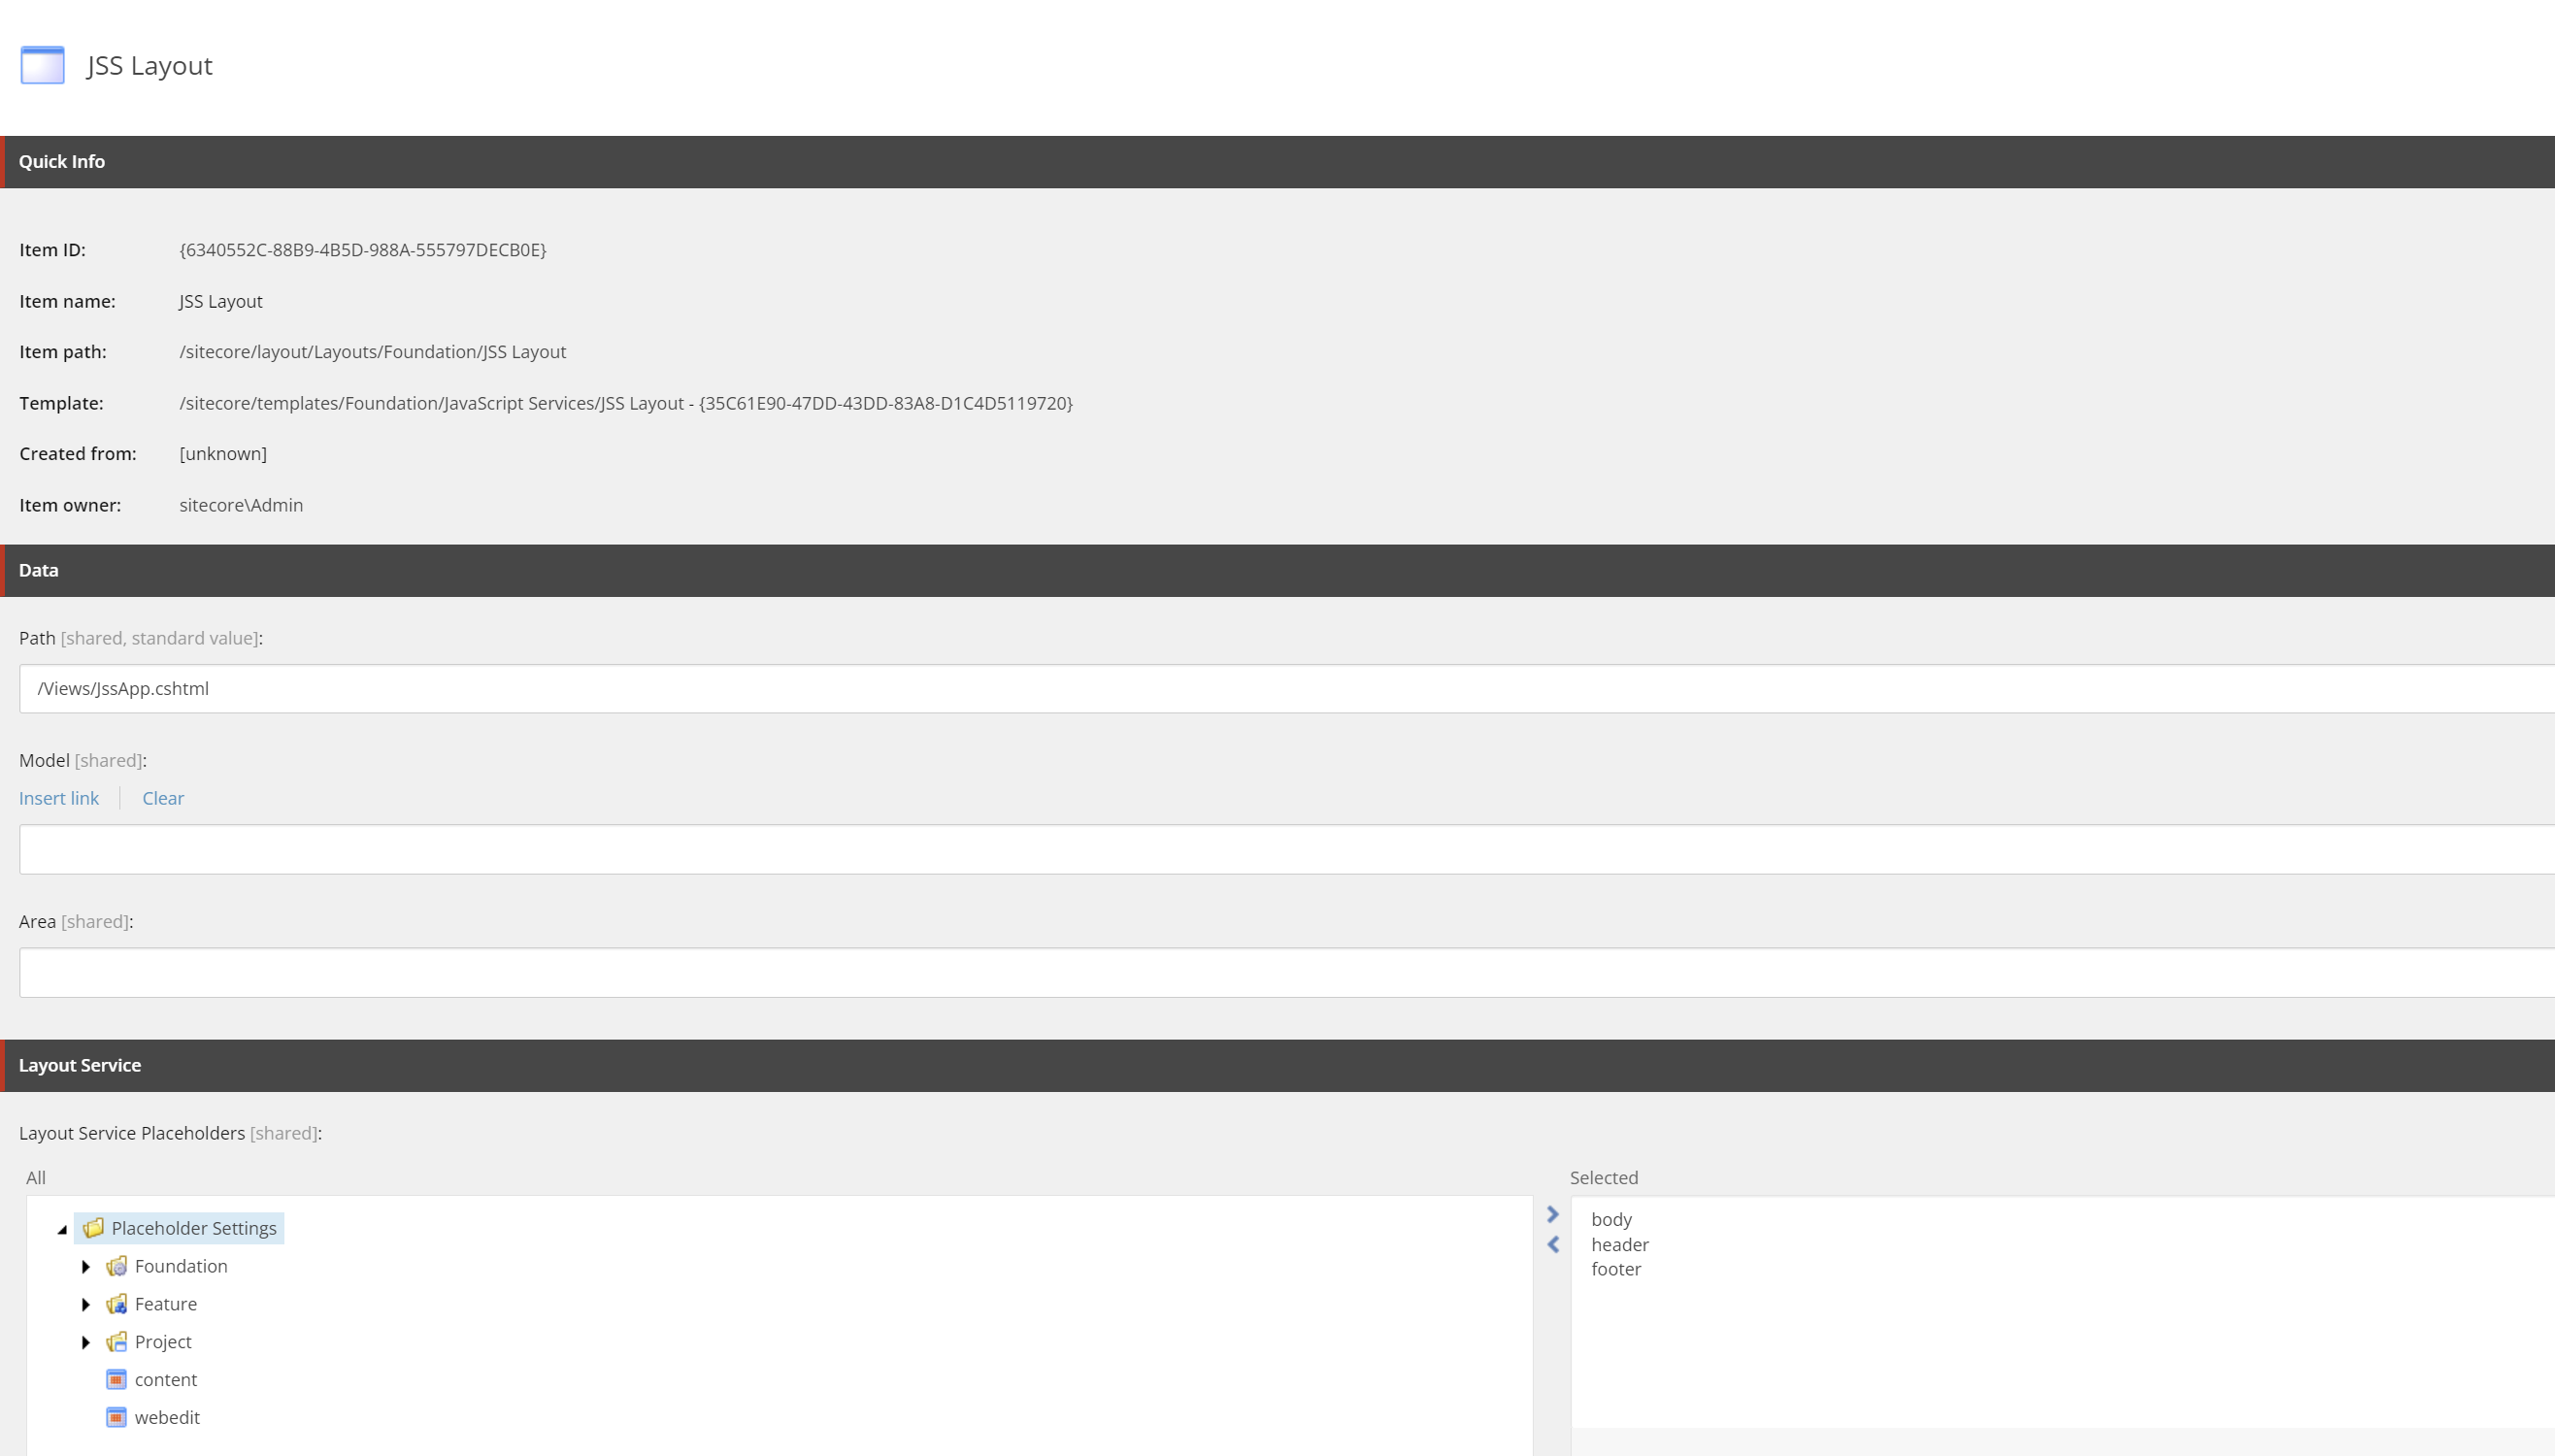
Layouts have to be created based on /sitecore/templates/Foundation/JavaScript Services/JSS Layout template or it’s descendants. There are couple differences with old-styled templates:
-
There are no direct path to Layout view, value of “/Views/JssApp.cshtml“ should be used in “Path” field.
-
You have to choose placeholders (Placeholder Settings) in “Layout Service Placeholders“ field that are used by template. Otherwise they won’t be processed by Layout Service. I created “header”, “footer” and “body” for this example.
It’s obvious that layout should be assigned to Page’s presentation details on template level, so, will not stop on this.
Create API key
To access Layout Service from Rendering Host you have to create Api Key under “/sitecore/system/Settings/Services/API Keys” path.
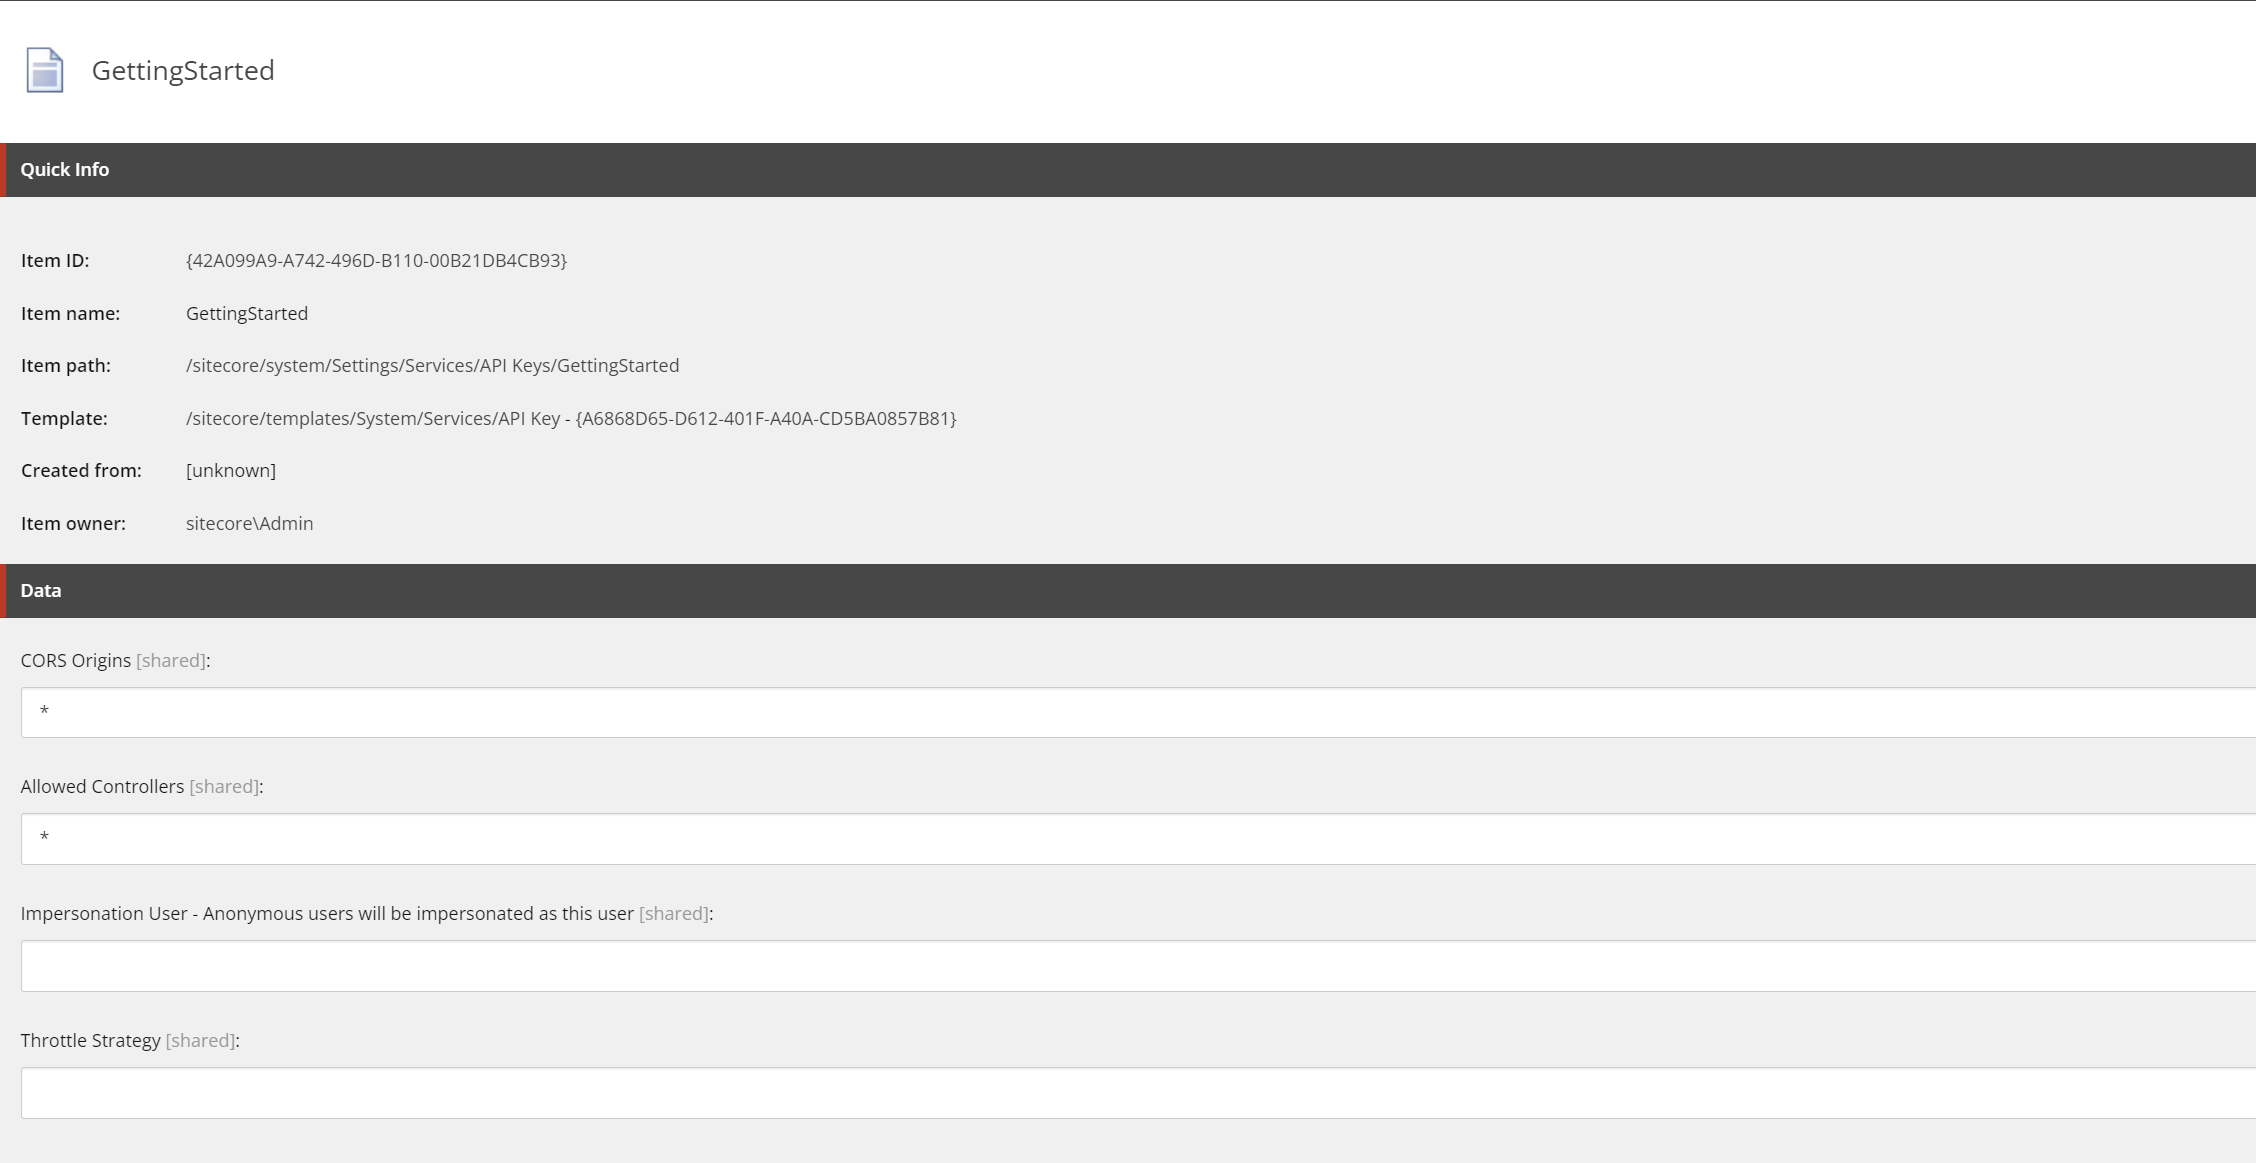
Id of this item will be used during setting up Rendering Host (Api Key).
ASP.NET Core project
New Project
To start with ASP.NET Rendering SDK you have to create new ASP.NET Core Web App.

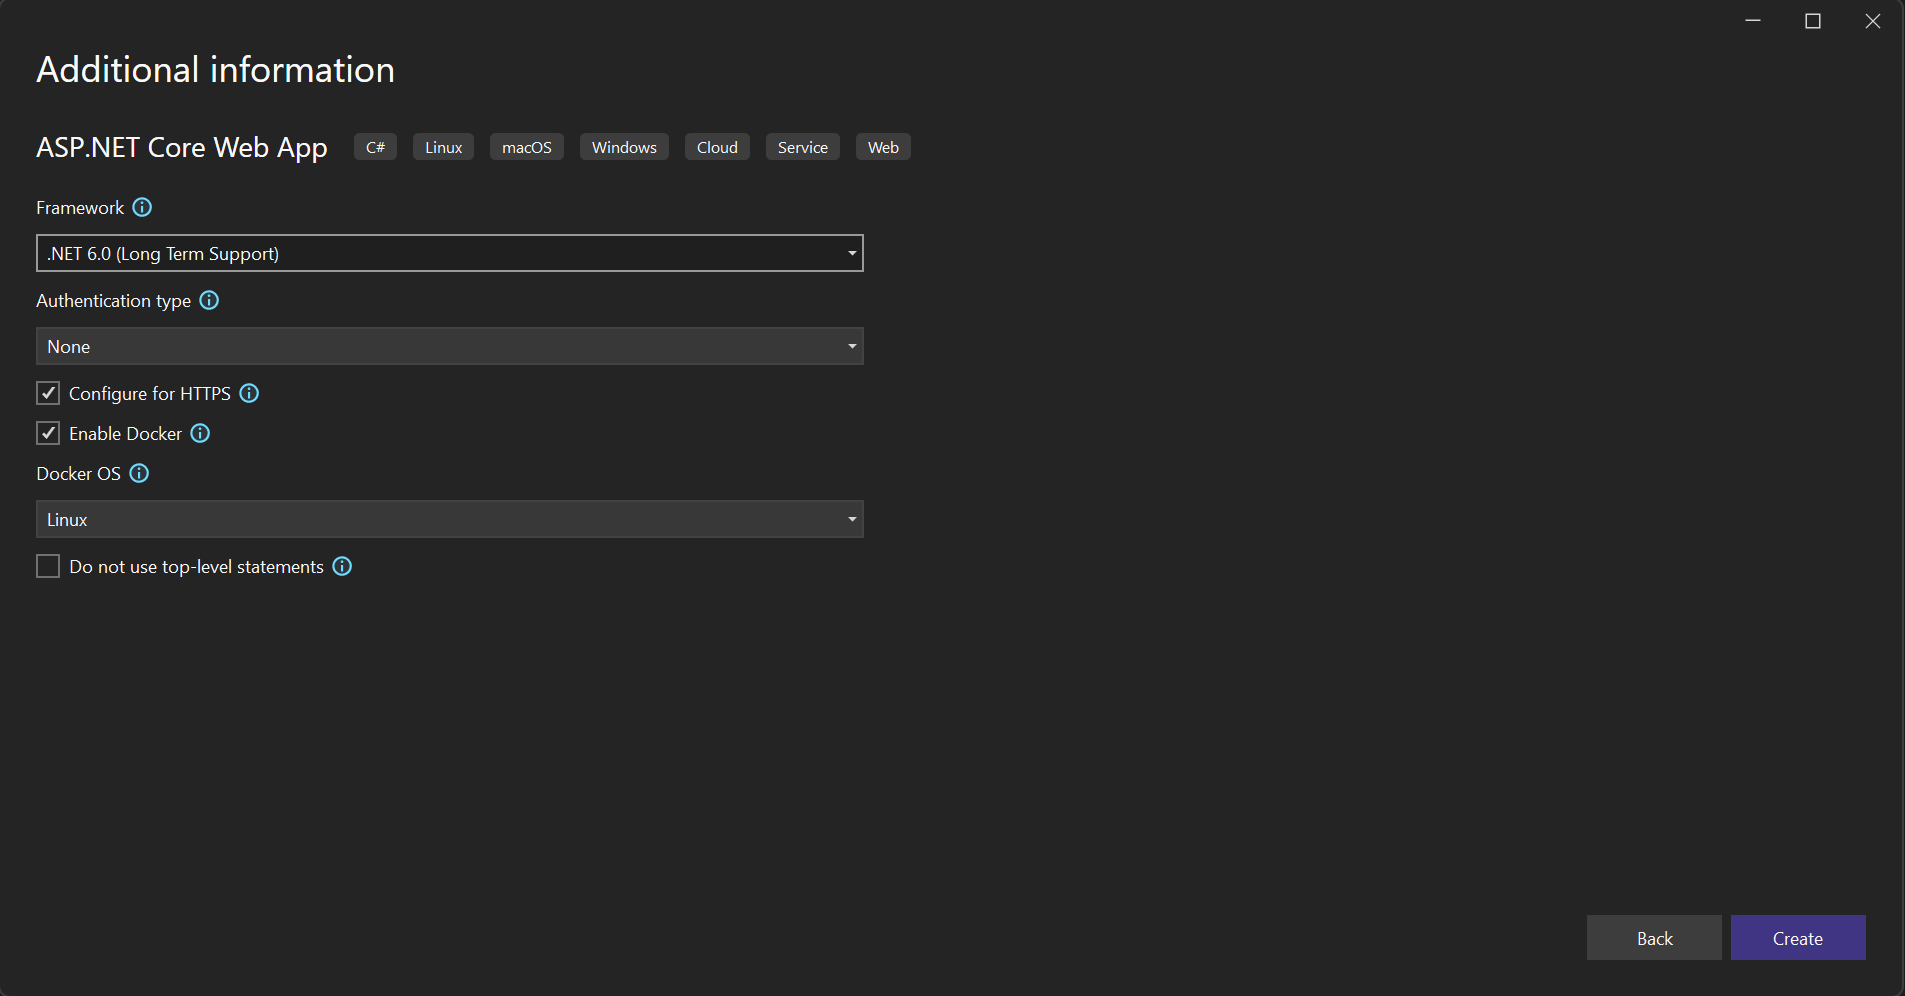
After creating you’ll be facing with following boilerplate structure:
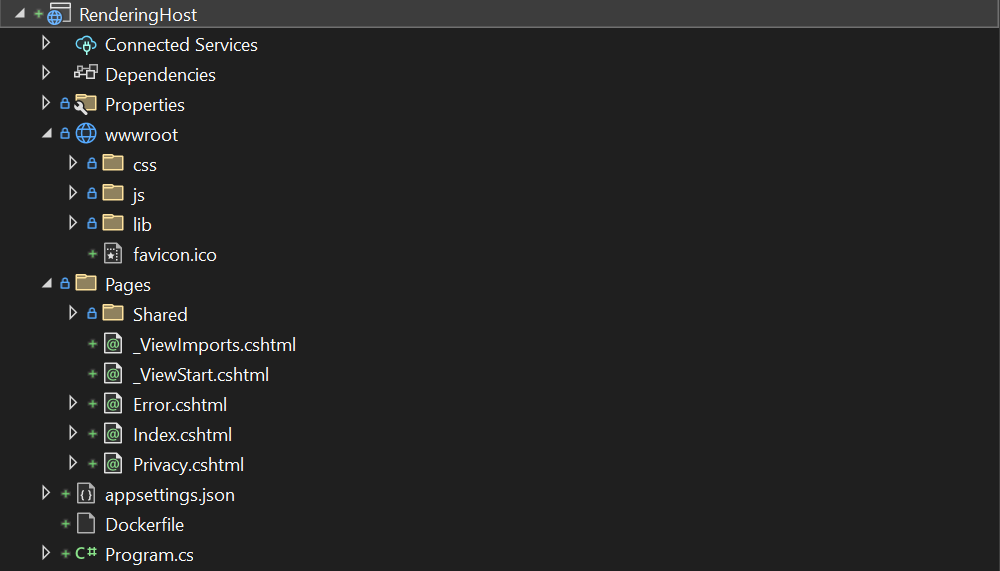
Since we’re going to start everything from scratch, it will be a good decision to delete Pages folder entirely as well as content of wwwroot folder. I also removed Pages-related stuff from Program.cs.
Project structure
Project will be a regular MVC application, so, let’s create folders to accomplish this goal: Models, Views and Controllers folders should be created at project’s root.
Controller
In controllers folder let’s create SitecoreController class and inherit it from default Controller.
using Microsoft.AspNetCore.Mvc;
using RenderingHost.Models;
using Sitecore.AspNet.RenderingEngine.Filters;

namespace RenderingHost.Controllers;

public class SitecoreController : Controller
{
    [UseSitecoreRendering]
    public IActionResult Index(Sitecore.LayoutService.Client.Response.Model.Route route)
    {
        return View(route);
    }
}
This controller will handle all Sitecore requests and the main purpose of it is to return proper view (Layout). Let’s go forward and create Views folder structure.
Views
At root level as usual for MVC application you may need _ViewImports.cshtml and _ViewStart.cshtml. Content for _ViewStart.cshtml may be pretty simple:
@{
    Layout = "_Layout";
}
_ViewImports.cshtml will allow you to add using statements to all Views, so, following content may be a good starting point:
@using RenderingHost
@using RenderingHost.Models
@using Sitecore.AspNet.RenderingEngine
@using Sitecore.AspNet.RenderingEngine.Extensions
@using Sitecore.LayoutService.Client.Response.Model
@using Sitecore.LayoutService.Client.Response.Model.Fields
@addTagHelper *, Sitecore.AspNet.RenderingEngine
@addTagHelper *, Sitecore.AspNet.Tracking.VisitorIdentification
Next, let’s create “Shared” folder and place Layout.cshtml and _ComponentNotFound.cshtml views there. Layout.cshtml will contain minimal content - basically RenderBody and Title field content from page model:
@model Route

<!DOCTYPE html>
<html>
    <head>
        <title>@(Model.ReadField<TextField>("Title")?.Value)</title>
    </head>
    <body>
        @RenderBody()
    </body>
</html>
And _ComponentNotFound.cshtml will contain text that will be shown once View will not be found for current rendering:
@model Component

<h1>Unknown component '@Model?.Name'</h1>
One more thing left - we return View from our controller, so, we have to provide it’s content. In Views folder start from creating “Sitecore” folder (equal to controller’s name, based on MVC naming convention) and place Index.cshtml inside:
@model Route

<header>
    <sc-placeholder name="header"></sc-placeholder>
</header>
<div>
    <sc-placeholder name="body"></sc-placeholder>
</div>
<footer>
    <sc-placeholder name="footer"></sc-placeholder>
</footer>
Placeholders generating with help of sc-placeholder tag helper.
Configuration (Optional)
I also created Configuration folder to place configuration model for application. It’s totally optional step, but I preferred to keep everything organized. Let’s create some models to parse configuration data:
LayoutServiceConfiguration will store configuration needed to connect to Layout Service
namespace RenderingHost.Configuration;

public class LayoutServiceConfiguration
{
    public string Name { get; set; }
    public string SiteName { get; set; }
    public string ApiKey { get; set; }
    public string Uri { get; set; }
}
SdkConfiguration model will be just a wrapper to store some additional settings of our application
  "SitecoreSDK": {
    "LayoutService": {
      "Name": "default",
      "SiteName": "GettingStarted",
      "ApiKey": "{42A099A9-A742-496D-B110-00B21DB4CB93}",
      "Uri": "https://cm.localhost/sitecore/api/graph/edge"
    },
    "ExperienceEditorEnabled": true
  }
SiteName and ApiKey values, obviously, should be the same you chosen/created in Sitecore setup chapter.
Uri value may have options: you can call Sitecore with JSS and GraphQL hanlders, so, there are different endpoints for each: "https://cm.localhost/sitecore/api/layout/render/jss" and "https://cm.localhost/sitecore/api/graph/edge" accordingly. There are no big difference in endpoints but consider using GraphQL as most modern and the only option when using Sitecore Edge.
Program.cs
Let’s get this data from config into our code and map to models. Switching to Program.cs and use following code:
var sdkConfiguration = builder.Configuration.GetSection(SdkConfiguration.Key).Get<SdkConfiguration>();Program.cs: Layout Service
Next step is to setup Layout Service. Depending on which communication model you chose (JSS or GraphQL), this setup differs:
For JSS it will be:
builder.Services
    .AddSitecoreLayoutService()
    .WithDefaultRequestOptions(request =>
    {
        request
            .Language("en")
            .SiteName(sdkConfiguration.LayoutService.SiteName)
            .ApiKey(sdkConfiguration.LayoutService.ApiKey);
    })
    .AddHttpHandler(sdkConfiguration.LayoutService.Name, sdkConfiguration.LayoutService.Uri);
And for GraphQL:
builder.Services
    .AddSitecoreLayoutService()
    .AddGraphQlHandler(sdkConfiguration.LayoutService.Name, sdkConfiguration.LayoutService.SiteName, sdkConfiguration.LayoutService.ApiKey, new Uri(sdkConfiguration.LayoutService.Uri))
    .AsDefaultHandler();
And here is a place where you may be faced with warnings that some references were not found. To get rid of them you have to install some nuget packages from Sitecore. Here is a list of packages you have to install:
-
Sitecore.AspNet.RenderingEngine
-
Sitecore.AspNet.RenderingEngine.Abstractions
-
Sitecore.LayoutService.Client
-
Sitecore.LayoutService.Client.Newtonsoft
You may also consider of adding some basic packages as well:
-
Sitecore.AspNet.ExperienceEditor
-
Sitecore.AspNet.Tracking
-
Sitecore.AspNet.Tracking.VisitorIdentification
Note: Sitecore has their own nuget repository source (https://sitecore.myget.org/F/sc-packages/api/v3/index.json). To add extra source, go to Tools > NuGet Package Manager > Package Manager Settings and add url above to a sources list.
Program.cs: Rendering Engine setup
To map Sitecore renderings and models to views and components on Rendering Host, you have to add and setup rendering engine:
builder.Services
    .AddSitecoreRenderingEngine(options =>
    {
        options
            //  Here is a place where renderings are mapping to views and components
            .AddDefaultPartialView("_ComponentNotFound");
    });
Program.cs: Add Localization
Add following code to add languages support:
app.UseRequestLocalization(options =>
{
    // If you add languages in Sitecore which this site / Rendering Host should support, add them here.
    var supportedCultures = new List<CultureInfo> { new CultureInfo("en") };
    options.DefaultRequestCulture = new RequestCulture(supportedCultures[0]);
    options.SupportedCultures = supportedCultures;
    options.SupportedUICultures = supportedCultures;

    // Allow culture to be resolved via standard Sitecore URL prefix and query string (sc_lang).
    options.UseSitecoreRequestLocalization();
});
Program.cs: Add endpoints
To map requests to SitecoreController add endpoints:
app.UseEndpoints(endpoints =>
{
    // Enables the default Sitecore URL pattern with a language prefix.
    endpoints.MapSitecoreLocalizedRoute("sitecore", "Index", "Sitecore");

    // Fall back to language-less routing as well, and use the default culture (en).
    endpoints.MapFallbackToController("Index", "Sitecore");
});
And that's it! On this stage we have Rendering Host application that requests Sitecore’s Layout Service thru API and generates home page markup based on received info. Next steps will be to create renderings and place them on presentation details.